A west coast classic – route description
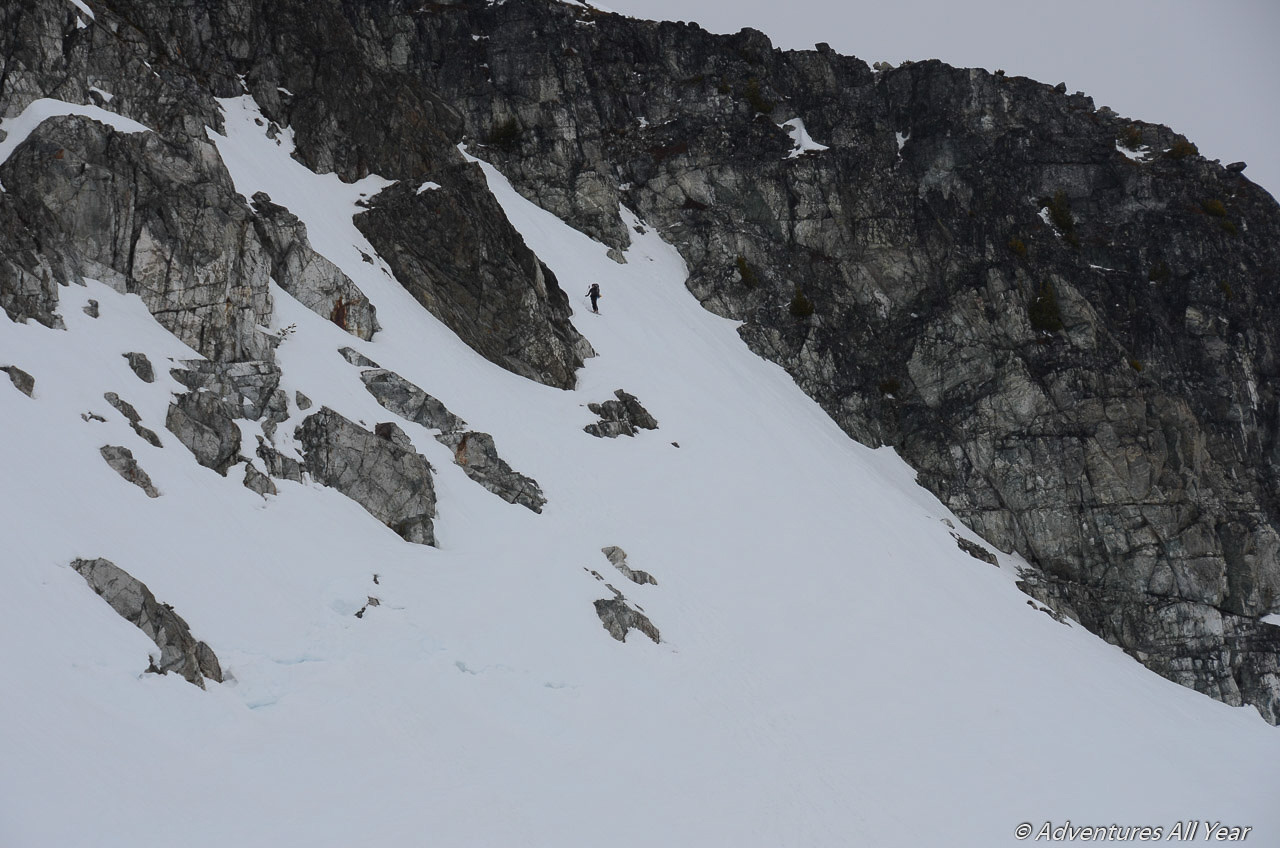
This three day ski traverse will showcase what the Coast Mountains have to offer – a great scenery, big alpine slopes, some superb ski runs, winter camping on glaciers and a feeling of being ‘out there’ yet close enough to a major urban area. Because of extensive glacier travel this trip is best done in March / April when most crevasses are nicely filled. Carry glacier gear and know how to use it.
Trip Stats
46 km total distance / 2,430 m vertical cumulative
Skills required: glacier travel, winter camping, snow stability assessments, navigation by GPS in inclement weather, skiing with an overnight backpack.
Equipment needed: in addition to the obvious ski, camp, avi & glacier safety gear I will specifically mention the following – if you are doing this in April, DO bring ski crampons and/or regular boot crampons.
Starting on the Spearhead
The recommended starting point for this ski trip is at Whistler Village or Base II Guest Services where you can buy a single-use ski pass to access the alpine via the resort chair lifts (Excalibur Gondola -> Glacier Chair -> Showcase T-Bar). The lift-assisted approach will save you ~3-4 hours of dull skinning up a cat track. However, for the purists amongst you there is also a designated backcountry ski corridor where you can skin up on certain ski runs. Call Whistler Blackcomb Boundary Access Hotline at (604) 905-2324 to check which ones are active as it may change daily due to avalanche control.
Once you clear the last lift (Showcase T-bar) you’ll need to carry the skis up a short hill to reach the col overlooking Blackcomb Glacier. Once at the col, contour high above the glacier gently trending down to reach the backcountry ‘gate’. You will hardly be alone on this trip so you can follow existing tracks across or look for tall thin posts on the far side.
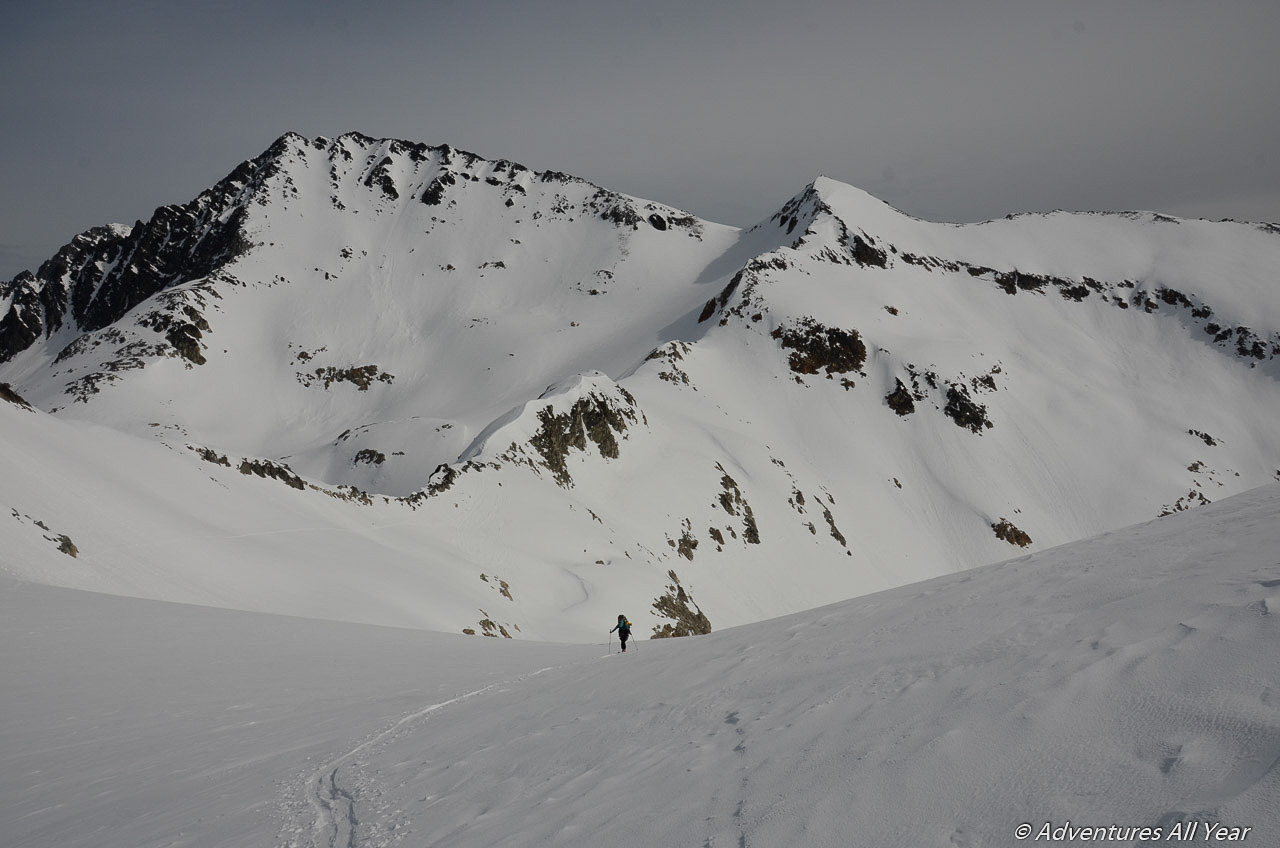
Shortly past the gate you’ll need to put your skins on and start ascending a steady upslope towards Spearhead Col. When you top out at the col Whistler ‘slackcountry’ vista will open up. Across the valley and in front of you you will see Decker Glacier to be ascended on the next leg of your journey. There are two routes across the Decker Glacier: one ascending the glacier up to its high shoulder on climber’s left and one which traverses the lower part of the glacier to a short and potentially rocky gully (that you might need to downclimb or sideslip) but which will deposit you directly onto Trorey Glacier. The former is slightly longer and definitely more uphill but I started to favour it over the lower route in the recent years as the glacier face somewhat receded and this can lead to a steep, icy and uncomfortable traverse. Therefore my description and the 1:50,000 PDF map linked above show the higher route.
Once you top out on the Decker Shoulder check your map / GPS and ascertain your next heading as the terrain here is wide and open and it’s easy to walk in a wrong direction, especially if the weather obstructs visibility. After you get your bearings the next steps are pretty straightforward: descend to Trorey Glacier, cross it with Mount Trorey on your right, climb up a mellow col directly S of Mount Pattison and drop onto Tremor Glacier, then ascend Tremor Col just NW of the summit which will take you to the next glacier S of Shudder Mountain – Platform Glacier. Many people will consider camping somewhere here on the first night.
Glacier travel
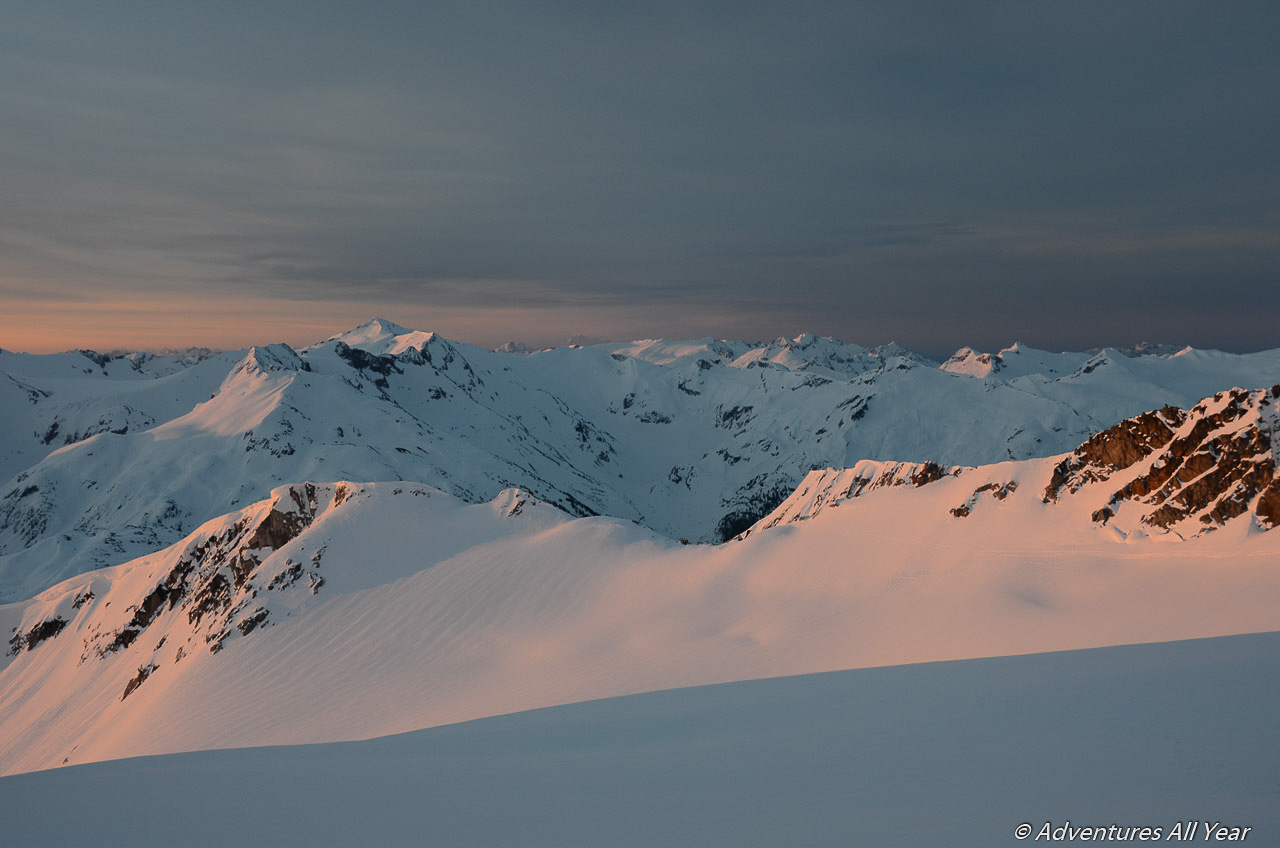
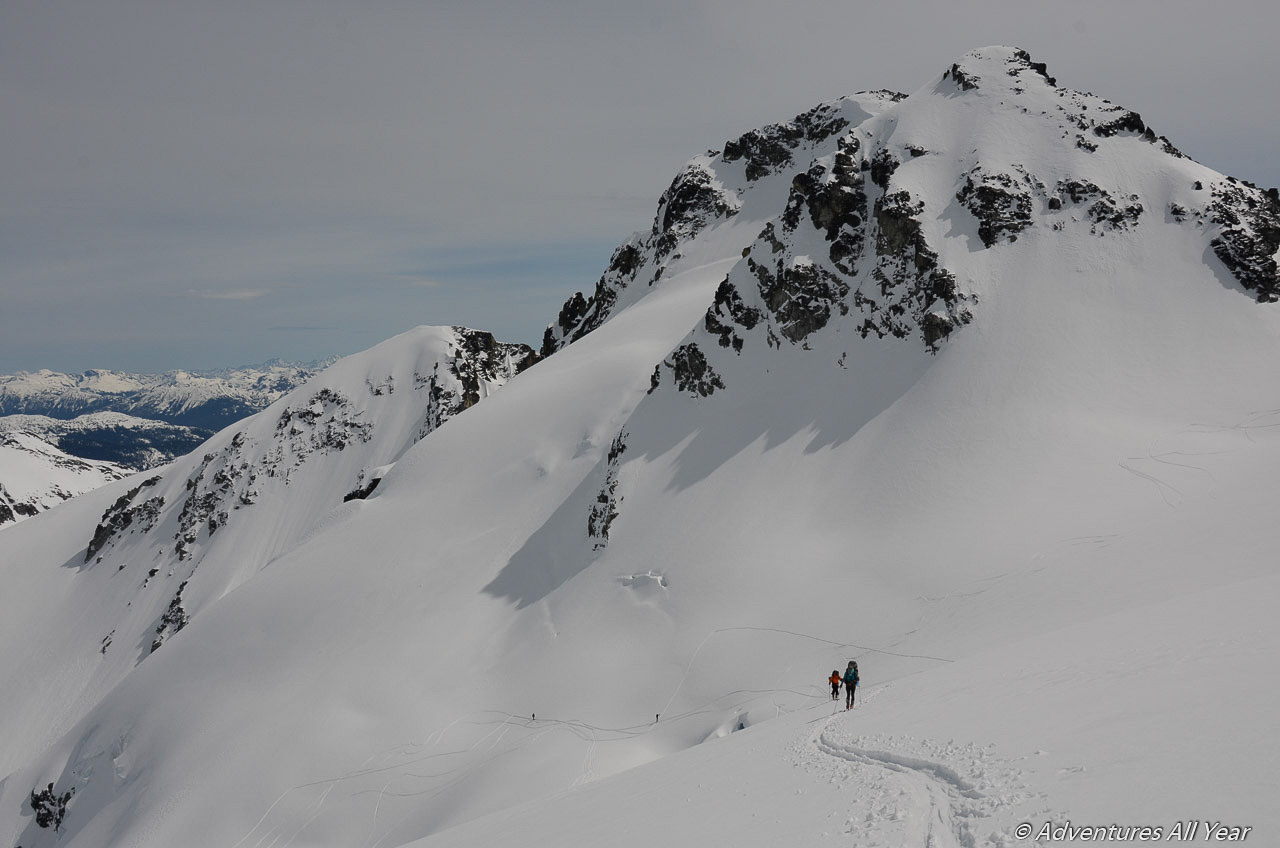
The next day traverse Platform Glacier aiming for a broad col between Quiver Peak and The Ripsaw. Behind the col there is yet another glacier to cross, The Ripsaw and after that another – Naden. All three are very gentle and mellow, however the transition from Ripsaw to Naden can be stripped of snow and quite rocky, possibly requiring a bootpack & belay. By the way, glaciers: For most part you will not notice that you are on one, especially late in the season (March & April) when the thick coastal snowpack covers all the indentations. It will mostly feel like you are on a vast snowy field. However, there are places where crevasses loom (Decker, Diavolo, Overlord, even placid-looking Platform Glacier saw a crevasse fall incident in recent years). Most people will not be roped up on this trip but it is always good practice to have your harness on, slings, carabiners and a light glacier rope at the ready and knowing how to use all of this!
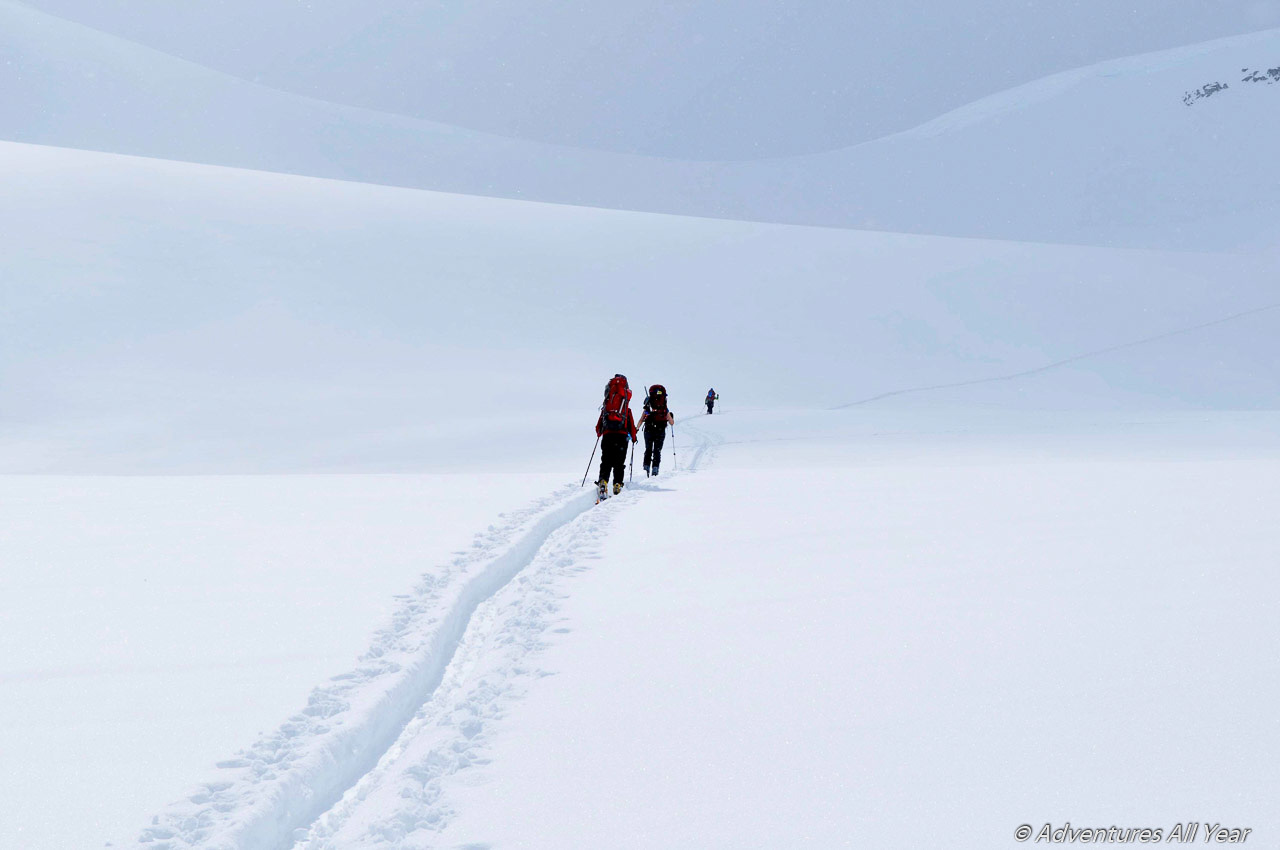
Day 2: More glaciers
If the weather (e.i.) visibility is good the traverse will be smooth sailing. The scenery is fantastic, the glaciers mellow and Day 2 offers some really nice skiing. If you spent your first night on Platform Glacier, you will likely be aiming for Russet Lake as your next camp. The ski down Macbeth glacier is a very nice one. If you need to cut the trip short and bail for any reason, Macbeth Glacier exit out to Fitzsimmons Creek basin is one of your few opportunities to do that.
If you are continuing on the route splits here again and two variations exist: 1. skiing from Rooftop Ridge to Iago Glacier below – awesome run but assess snow stability carefully, 2. if you want to avoid loosing that much elevation that later needs to be regained, stay on Rooftop Ridge and follow it to the most convenient spot to drop down and rejoin Iago Glacier. You might need to put your skins back on for better control, the ridge is quite narrow with steep drop-offs on both sides.
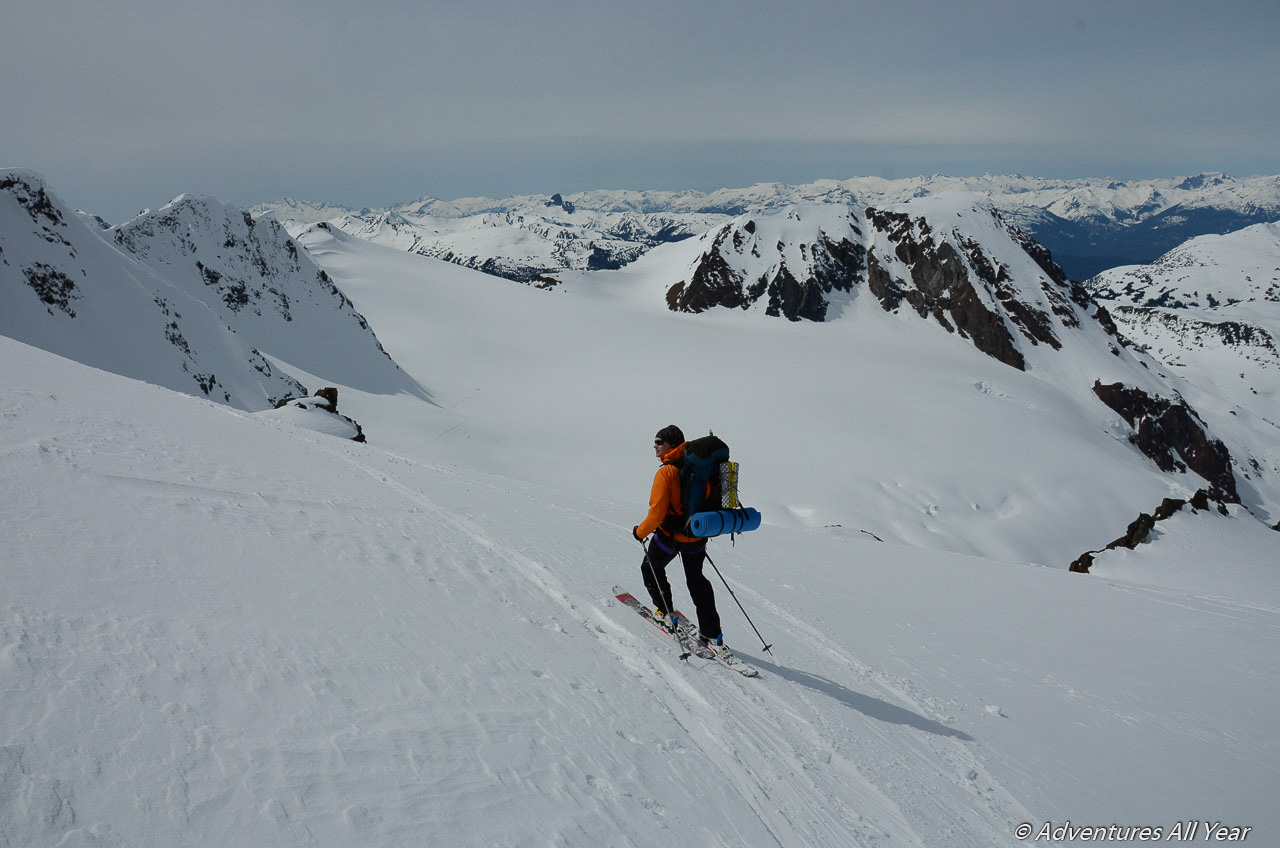
Once on Iago Glacier, a long slog up begins from 2000m (if you followed option 1) to 2400m. Once you top out at Iago East Ridge, you’re standing above Diavolo Glacier with Mt. Iago to your immediate right. Cheakamus Mountain massif is visible across the glacier from you. Getting off Iago might be a bit of a chore, followed by another awesome run down to the glacier below. Be careful about the slope stability as it is south facing and exposed to the solar radiation.
From Diavolo Glacier basin it is another 300m vertical slog up to Benvolio-Fitzsimmons Col. Having arrived at this col take a peek whether you can drop down and traverse high below Mt Benvolio. This area tends to build up spectacular cornices so if this way is a no-go, retrace your steps and skin a bit higher to a col immediately south of Benvolio summit. Drop to Overlord Glacier from there instead.
BTW – dropping to Overlord Glacier. In the past this was just a straightforward ski down but in the past couple of years Overlord Glacier receded and thinned down to the point that it created a short rocky step (~5m?) requiring a belay. You can bypass this spot by going down and around it but you’ll lose quite a bit of elevation and it will deposit you into some crevassed area. Since you are already wearing a harness and are carrying a rope (right?), use the rappel station set up at the top of this rocky step.
Once you clear Benvolio and Overlord, you are in a very familiar territory of Whistler Mountain ‘slackcountry’. Your next goal from here will be traversing Overlord Glacier towards Fissile Peak. Be aware of the cornices hanging off the ridge on your left and do not linger.
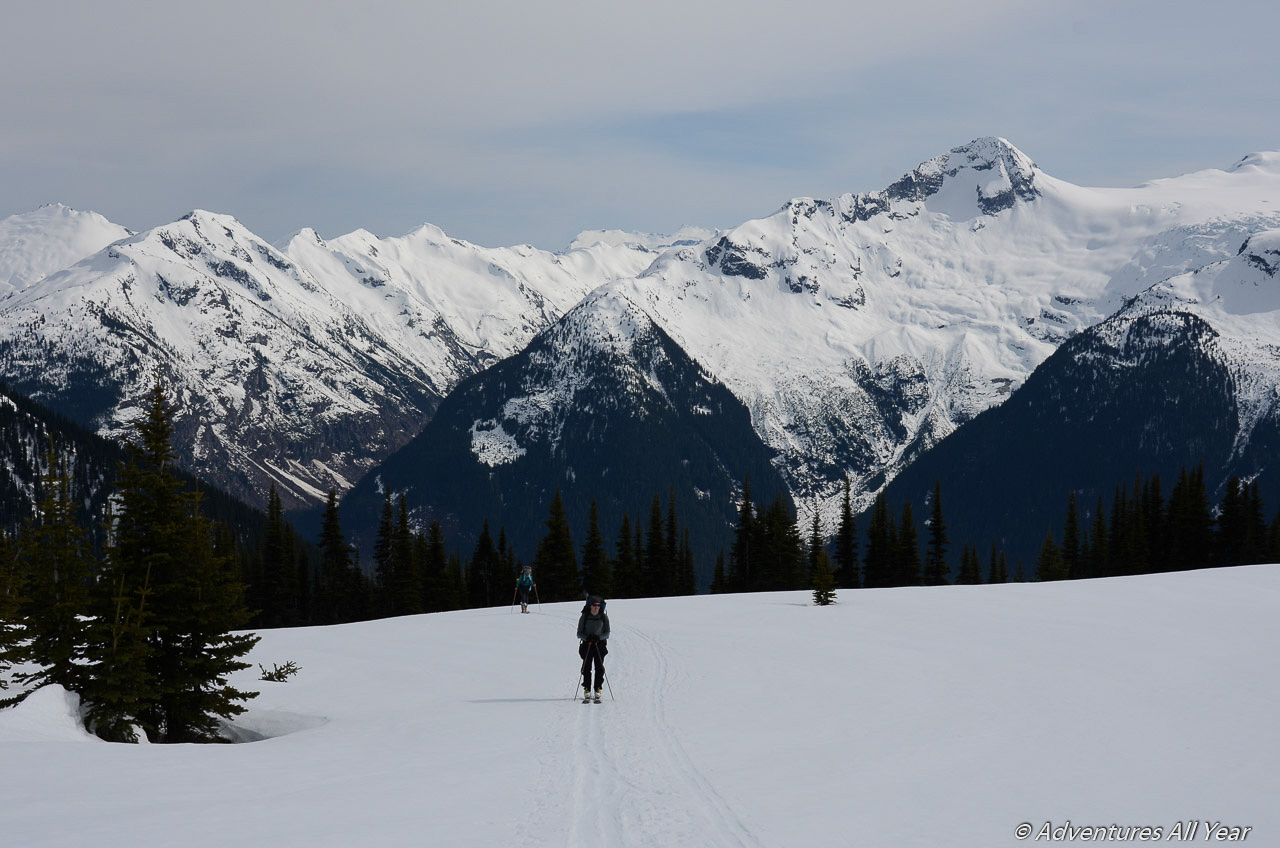
Past Fissile Peak you will exit the last of the glaciers and a large backcountry hut (Claire & Kees Hut) at Russet Lake will come into view.
I’d recommend camping here if you are doing Spearhead Traverse as a 3-day trip. Doing it in two days is certainly possible (and some people even do it in a day!) but why would you? It’s a beautiful high country out there, I wouldn’t rush. Three days is just perfect.
The Exit Route
To complete the traverse from Russet Lake you will drop to Singing Pass. Here the route splits again, you can either take a marked trail out (Signing Trail). The trail is more like a 10 km downhill-trending single track that will be delightful if it received some fresh snow and exciting in a scary way if iced up. For a more esthetic route, however, take the standard route from Singing Pass up over Musical Bumps and aiming for NE shoulder off Flute summit.
Once you cross the ski resort boundary (which will be obvious as it will be marked by either rope or orange flags) use the following ski runs to get back to Whistler Village: Burnt Strew Trail -> Upper Sidewinder -> Upper Olympic -> Lower Olympic.
Congratulations, now go have a beer!

Leave a comment